A few weeks back, we talked to Allie McCormick about Lusting for Lavish’s Do-It-Yourself (DIY). McCormack, a true fashionista in her own right, has a wonderful blog full of wonderful DIY tips and tricks to class up your wardrobe for those budget shoppers or jewelry makers. Not only that, she has contributed DistrictGal Fashion Followers an amazing unique one-of-a-kind giveaway! Right now, DIY Mid Finger Rings is the latest trend to compliment your spring-color manicure. The ring is uber cute, and you’ll receive all the supplies to create this trendy DIY Mid Finger Ring . This is a limited time offer, so what are you waiting for? You only have to follow a few simple steps found below. If you’re looking for a new look this season, this is a MUST-ENTER to win this EXCLUSIVE DIY GIVEAWAY. Please don’t forget to follow all the steps for this competition or you will be disqualified, but come on District Gals’, we all know you are better than that.
DIY Mid Finger Ring
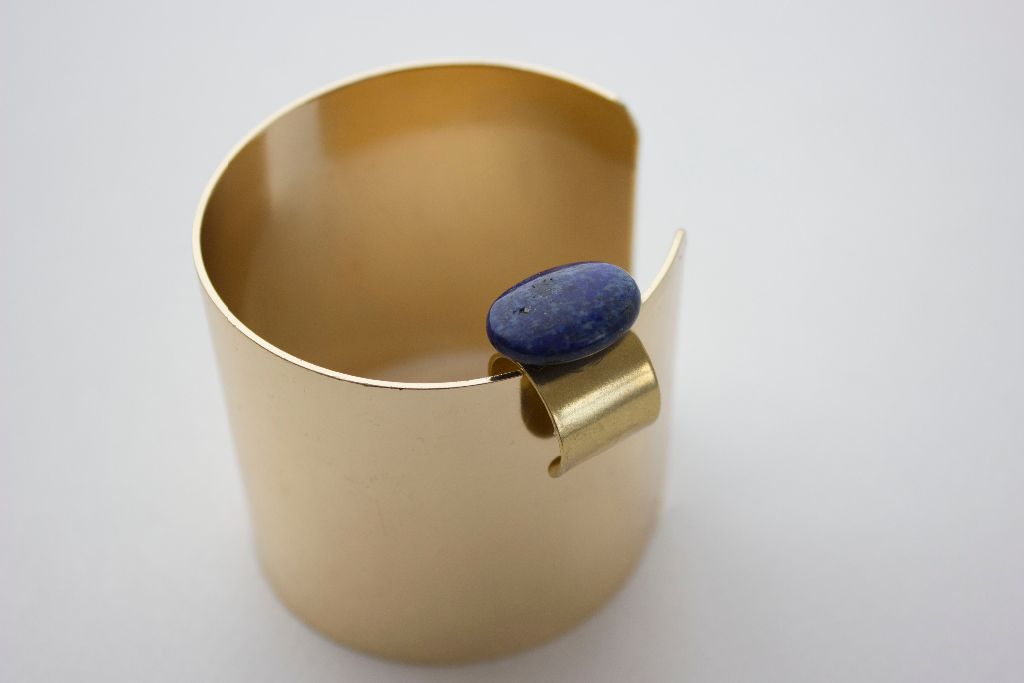
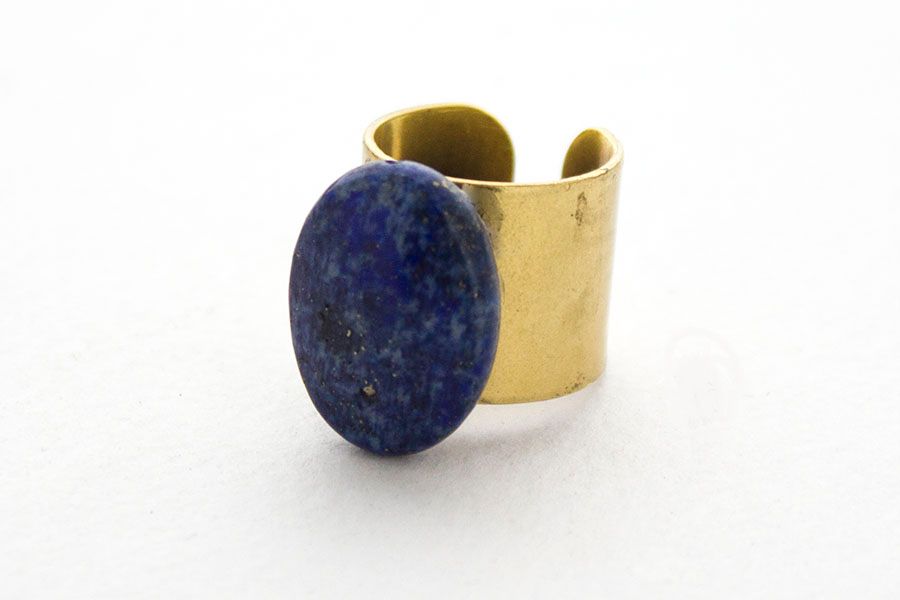
Mid finger rings, or over the knuckle rings, are a big jewelry trend right now. These rings can be found everywhere online and in stores around the world. Most mid finger rings are simple thin or wide band of metal. Well, why not take the mid finger ring to the next level by making it into a statement with a pretty deep blue stone. A simple DIY is just the thing to do!
Enter to win a DIY Ring Kit!
Supplies
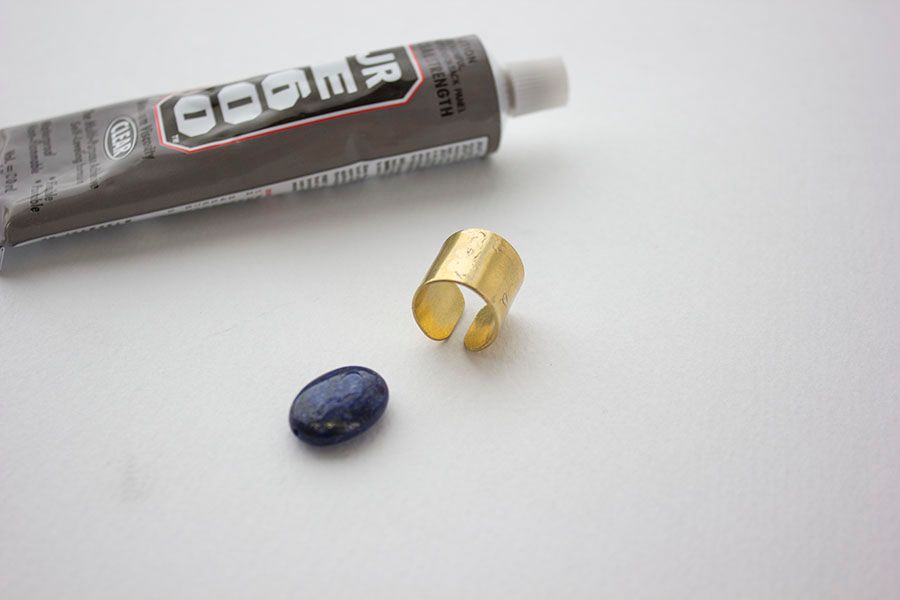
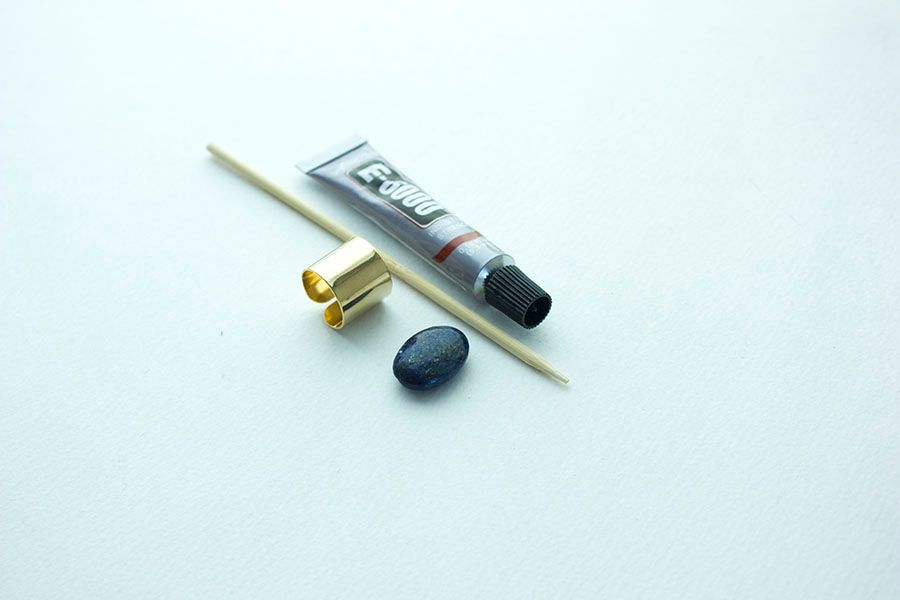
Wide mid finger ring | A pretty stone | Glue E6000 | Skewer
Steps
-
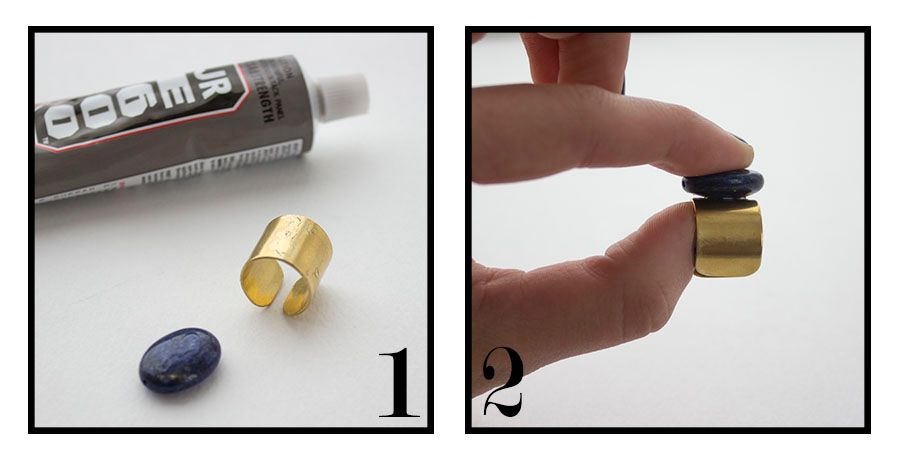
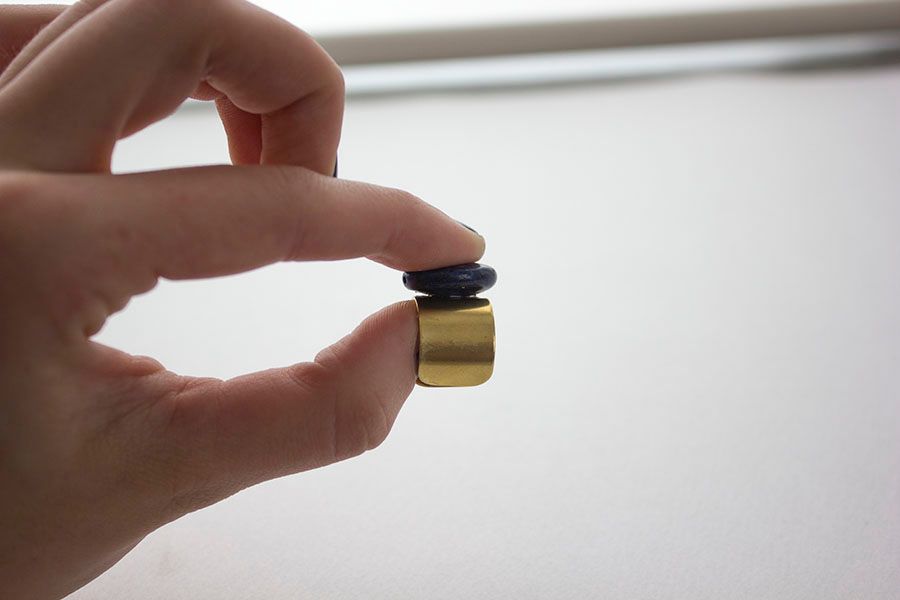
Put a dab of glue on the middle of the ring and the stone. Let the glue dry for a minute or two, this will help the glue stick together.
-
Press the glue sides of the ring and the stone together. Hold for about five minutes to allow the glue to set. Balance the ring so that the stone is face down and allow to dry for 12 to 24 hours!










This is such a great prize! Thank you! 🙂
This is a great giveaway! And it makes such a pretty ring! Thanks!!
SO beautiful!!!